

Making the Assembly Table
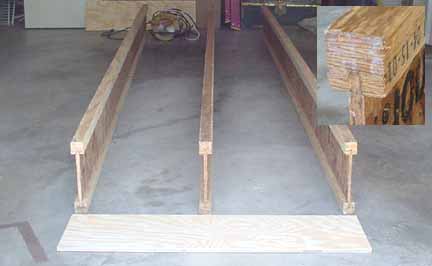
Above are the three 12 ft joists, 9 3/4 inches high. The upper right photo insert shows the lamination of the beam. In front of them is one of the 36 inch end panels which I will screw to the joist ends. I am just about to cut the joists to 11 ft lengths, which will leave a 6 inch ledge around the table for clamping.
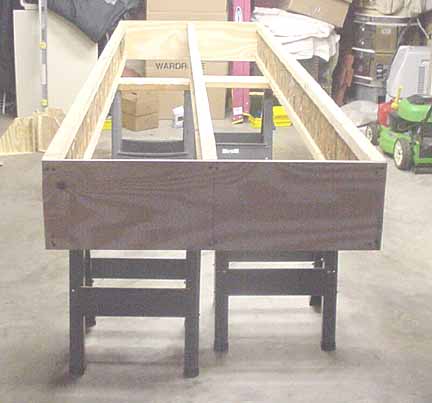
Above, the end caps are in place and the whole assembly is lifted onto some narrow sawhorses I already had. Two wider ones would have been simpler. The opposite corner distances were measured to make sure it's square, and a 4 ft and 8 ft sheet of plywood was placed, countersunk, and screwed on top. Then, a 4 and 8 ft sheet of MDF was countersunk and screwed onto the plywood. Unfortunately, we were so excited at finally having a large worktable, we started putting the spar and ribs and placing the 90 degree jigs on it before I remembered to use the camera to get a picture of just the finished table!
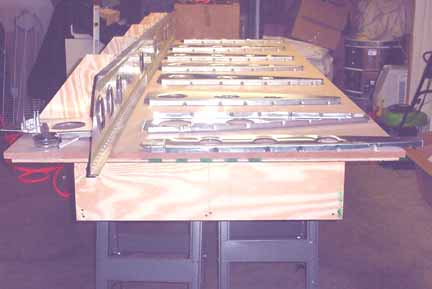
The MDF makes a wonderful work surface, and we applied the level in all directions, shined a laser pointer across it every which way, and drew a tightened string across it. As fellow builder Doug Garrou says, "it came out insanely straight, flatter than a day old beer!"
![]()
![]()
Images on this website are either Copyright Zenith Aircraft Company and used by permission or are copyright Gary Liming