

Final Assembly Page 3
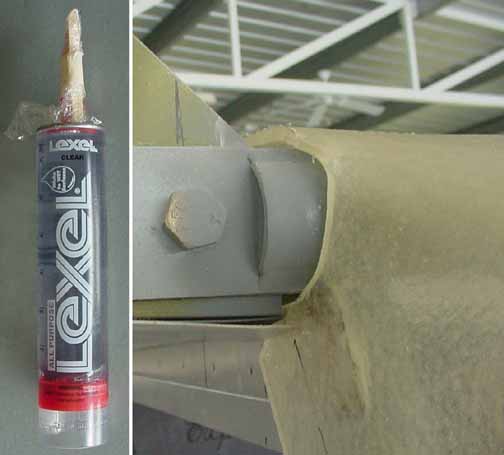
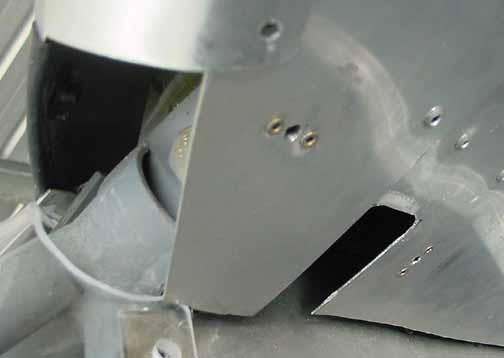
The first thing to do when mounting the windshield is get as good a fit as you can where the windshield wraps over the cabin frame. After this is fitted on both sides, you know how much to trim off the aft, sides, and front edges. Despite the instructions saying that the front does not need to be trimmed, I needed to take off about 1.75 inches off the front. I will use the "Lexel" caulking product to fill in the gaps shown above.
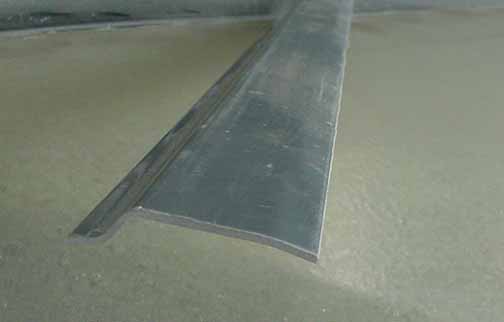
I didn't like the fit of the piece that goes over the trailing edge of the windshield, so I made my own. There is a slight bend on the front, and a drop on the back to help seal this edge. The width of the piece above is less than the width of the cabin frame it covers.
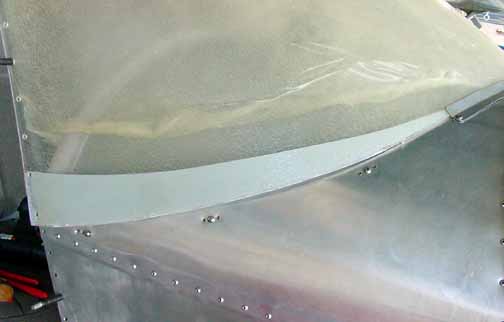
There are two things going on above. The inside protective plastic has been pulled back so that I could paint some of the inside windshield. Every 801 and 701 I've seen always has dust and dead bugs, etc. down in this crack, which is much more visible from the outside than the inside. Since it is nearly impossible to clean down in there, I decided to make it part of the design. From the inside, this doesn't impair visibility at all. The other thing is a fairing in front of the windshield.
Although the plans do not call for it, many aircraft have a fairing that goes around the windshield where it meets the fuselage. Some are aluminum, some are fiberglass. With the help of Tim Woods and John Groenveld, we made a three piece fairing shown above. The nutplates behind the screws were put in before the instrument panel cover was riveted.
Above is the front of the left wing root. The root cover is shown at the top of the picture. Cutouts have been made on the root cover, as well as the bottom wing skin to allow inspection access to the wing bolts. Nutplates have been added to allow a cover to be attached.
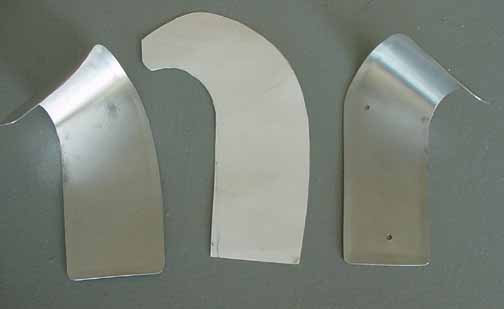
Above are the covers. In the middle is a template I made by placing the posterboard over the wing root, and tracing a pattern that would fit. On either side are the covers. The right wing cover is on the left.
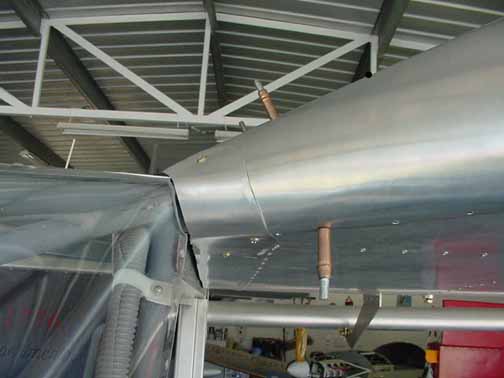
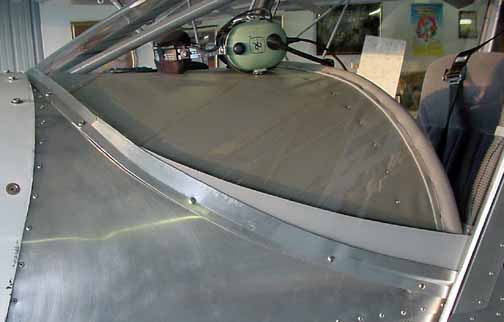
Here is the left wing cover in place. It has a nice snug fit. This picture is without the door on. Rubber channel will go along the bottom edge of the wing skin after the door is in place.
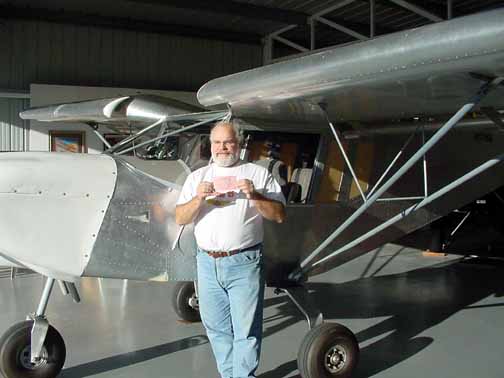
This is an important day! I've just received the airworthiness certificate for N1776G. The new AB-DAR program was very good and my DAR was Frank Baldwin, a real pleasure to work with. There is still a lot of work to do to get a good paint job on her, but now it's November (record temperatures when the above photo was taken) and it will be too cold to start painting. Today I also submitted the paperwork for my Repairman Airman's certificate at the local FSDO. Now I need to get myself ready to fly her.
![]()
![]()
Images on this website are either copyright Gary Liming or are Copyright Zenith Aircraft Company and used by permission