

Stabilator
November 12-27 2000
The Stabilator and Elevator comprise the horizontal section of the tail. I started working on the elevator first, assembling the skeleton of spars and ribs, and then attaching the skins.
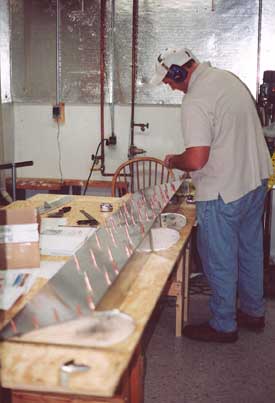
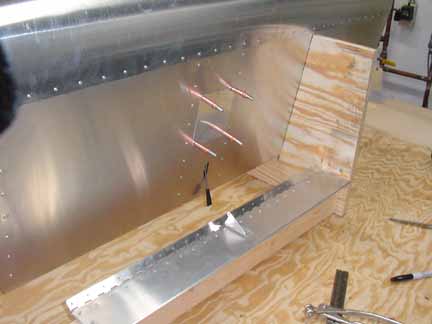
Here you see my son drilling and attaching the rear elevator skin to the skeleton with cleco's. Before riveting, the skin will be removed and the elevator skeleton primed with the zinc chromate. This workshop is in my basement.
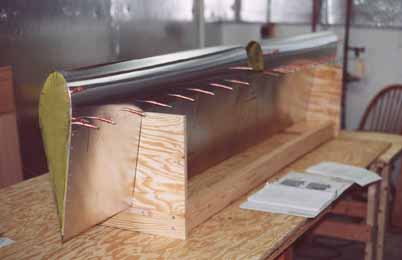
Above is the elevator with the rear skins riveted, and the nose skins clecoed. It is sitting in one of the suggested jigs I made that is very useful. When applying the nose skin, there comes a time to cut a straight, long edge to trim off the excess, an edge that will show on the finished elevator. When I started cutting the edge, the snips I was using left a scalloped mark, even though I didn't close the snips all the way. In the workshop, they said to just cut off a little at a time, so that the last piece your remove is no more than a 1/4 inch of material, making it easier to remove. There was a straight cut that I did on the on the rudder at the workshop, and I was very satisfied with the way that turned out, so I began to suspect my snips. The snips I had were a set of the left and right handed Wiss snips. I thought I would try another method, so I read about using a jigsaw in Kitplane Construction, and I would file any rough edge off. However, this quickly proved to be even worse, so I started looking for a better way.
For long straight cuts I found a pair of snips that have much longer jaws and don't seem to require the metal to bend upward so much as you go. This gave me good straight even lines for the nose skins. For inside cuts I found an interesting tool called a Jilson tool. See the tool page for a description.
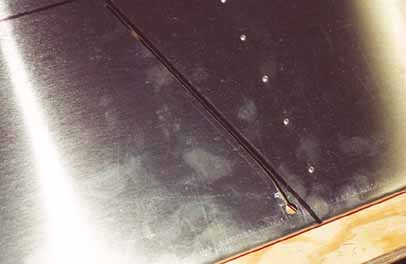
You can see that I left some room between this cut and the final edge, but I was so satisfied with the way it worked that I just went back and made the final pass with the Jilson right on the final line. A little bit of filing and the edge was done. This procedure requires you to cut a section of the elevator trailing edge to make room for the rudder to move. With this rudder cutout, there are four curved corners, so I used an end mill bit in a Dremel tool to round them neatly. I got the end mill bits from a very generous friend I met on-line.
Here is the finished rudder cutout. The nose skin edges are also nice and straight.
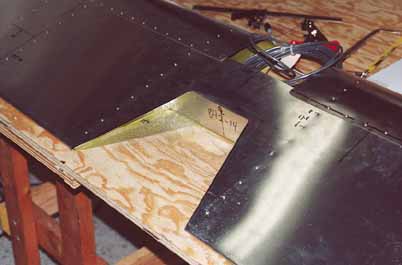
The Trib Tab is aluminum piano hinge and folded aluminum with a control horn riveted in the middle to accept the rod from the servo. Here, it is just laying on the elevator jig. The Trim servo is installed and the cover will remain cleco'd in place until the final assembly. Also, note the holes along the bottom for the trim tab which is also fitted and drilled but will be riveted during final assembly to protect the tab during storage.

Here the elevator horns are cleco'd in place, waiting for the stabilator to allow the final riveting. On to the stabilator, then!
December 27 - January 24 2001
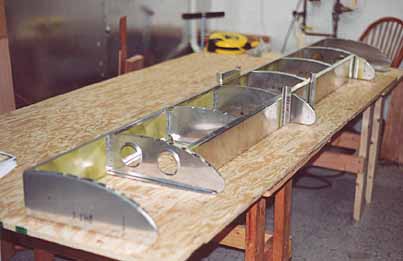
Here is the completed skeleton of the stabilator upside down and waiting for priming. It goes together pretty quickly..
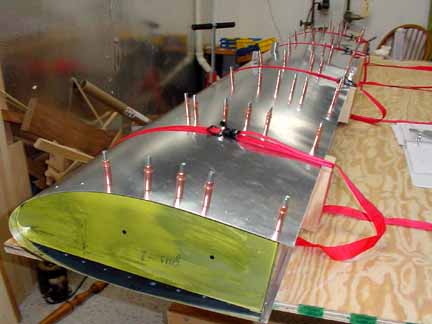
Fitting the skin around the nose is kind of tricky - under the nose is a straight 1x2 that the straps apply pressure against, forming the nose evenly around the skeleton. Wood blocks on the rear keep the straps from bending the edge of the skin. Before riveting, the skin will be removed and the skeleton and inside of the skin will be primed.
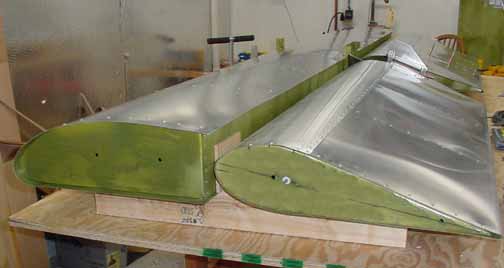
Here, the skin has been riveted to both sides of the stabilator, and the elevator is being positioned in place to attach the hinge brackets. Note the 1/4 inch wooden spacers between the elevator and the stabilator spar. I added the nylon washer between the elevator and the side hinge brackets.
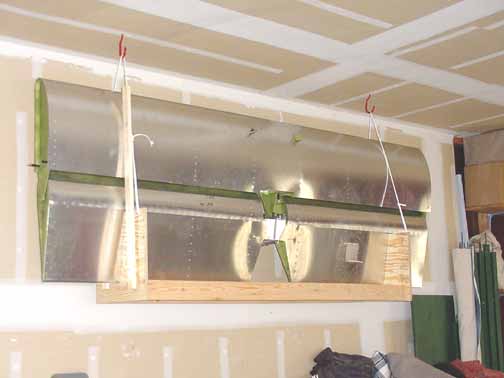
Here is the completed horizontal section of the tail, resting in the elevator jig that is now converted to a storage rack hanging out of the way in my garage. The elevator hinge brackets are only cleco'd to the stabilator for now. The side fiberglass tips will be attached during final assembly of the airplane.
Next section is Flaps and Slats
![]()
![]()
Images on this website are either Copyright Zenith Aircraft Company and used by permission or are copyright Gary Liming