|
 Making the Arms |
| Home Page |
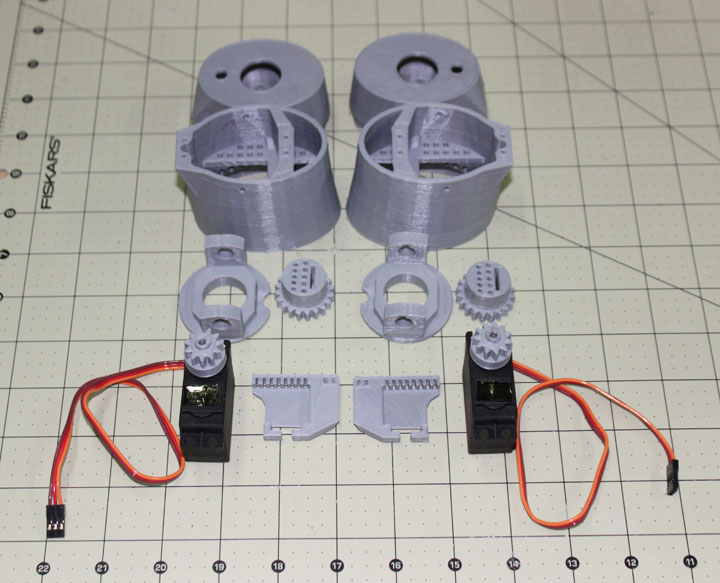
Fig. 1 Above shows the various parts for both left and right rotating wrists. Each hand's ligaments are passed through the central gear, through two guides, and into the forearm. The servos to rotate the wrists are just the cheap MG995's and I used the "Wrist Gear Standard Servo Mount" variation by Balse for the servo gear shown mounted on the servos. They were a press fit onto the servos. Also, the two cable guides shown between the servos in Figure 1 were changed to use the new nominal CableHolderWristV5 and LeftCableHolderWristV5 since the original ones required them to be glued to the servos, and the new ones do not.
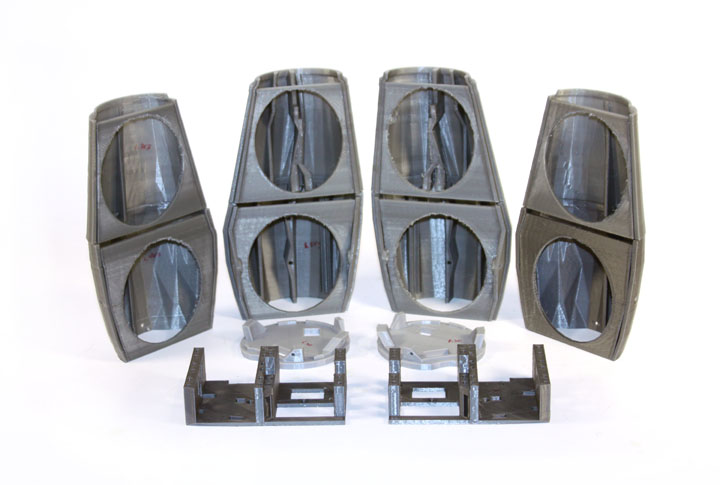
Fig. 2 Here are the 12 main pieces needed for the right and left forearms. The larger pieces are some of the more difficult to print - there is significant bridging and they are 4-5 hours each on my printer. 3D printing is still at a place where there are many things which can go wrong, and if the print is long enough, Mr Murphy will raise his head to affect at least one of them. Like most printers, once you get one dialed in and understand the various parameters to tell the slicer and the printer, it works pretty well. The larger pieces are shown with their in-model support pieces in place, as I decided not to remove them until necessary. The front pieces are the right and left servo trays that have been modified to include a slightly stronger structure - "InMoov Servo Bed Upgrade Left Side" by RentaPrinter. Also, these pieces are the "Silver" PLA while the previous pieces are the "Grey" PLA. The silver is slightly darker.
Fig. 3 Here is the right forearm with the ligaments strung and the servos ready to go. In January of 2015, Gael provided a new tensioner frame (LeftTensionerV1.stl and RightTensionerV1.stl) that used small (13/64 x 13/16 in) springs to pull down both sides of the ligaments as they left the servos to keep them taut. I found a source for these springs as a part of an assortment from here for $5 for 10, enough to do one hand, not counting a 20% coupon that can be applied. In order to set the servos, I used a servo tester described in the Tools & Materials page.
Fig. 4 Here are the pieces needed for the biceps and elbow joints.
Fig. 5 Comments may be directed to gary at liming daught org. Thanks for viewing this build log! |