|
 Tools and Materials |
| Home |
This page is just for listing some of the tools and materials I used while building my InMoov, especially those that I haven't seen mentioned anywhere else. You may already be familiar with these, but some folks may not be. As always, your mileage may vary. It also serves to list sources for those items. I mostly use PLA. I have tried a number of different brands of PLA, and some are definitely better than others. The one I am currently using is Esun 1.75mm grey PLA, available from several dealers on ebay or Amazon. However, I will gladly change to any other filament that I find works better. The next thing to talk about is ABS vs PLA - I prefer using PLA for the following reasons. Pros: - PLA is stiffer than ABS (tensile strength of PLA is 8300 psi, ABS is 6500 psi) - PLA prints at lower temperatures - PLA has less tendency to warp - ABS needs a heated bed and draft protection - Easier to shape or smooth after the print is done - No known detrimental health hazards other than UFPs - ABS is worse - PLA is food safe, but won't withstand a dishwasher without sagging, although this doesn't matter that much - PLA is slightly hygroscopic, ABS is much more hygroscopic (absorbs moisture) - PLA biodegrades well, ABS simply does not. - PLA is made from vegetable starch, ABS from petroleum. Cons: - ABS glues (or welds) easily with acetone, PLA needs epoxy or CA glue - PLA is more brittle - when stressed it cracks rather than deforms like ABS - PLA is harder to print than ABS. - PLA is a bit softer (Rockwell hardness 80 vs ABS 107) - Lower Glass transition point (60 degrees vs ABS's 105) This is where the plastic gets soft and can sag if under stress. I realize the conventional wisdom is that ABS is stronger than PLA, and I am interested in strength, so I will first look into gaining that strength through better part design and using alternate materials, or vitamins. Also, I will look into a new kind of PLA that is supposed to have even better strength properties than ABS, like Polymax PLA. It is described as an additional 20% tougher than ABS and 9 times tougher than regular PLA, but has the same easy printing properties. If those avenues are exhausted, then I'll print some ABS. You might feel differently about this, of course. BTW, there are theoretically about 330 meters in a 1kg reel of 1.75 mm PLA filament.
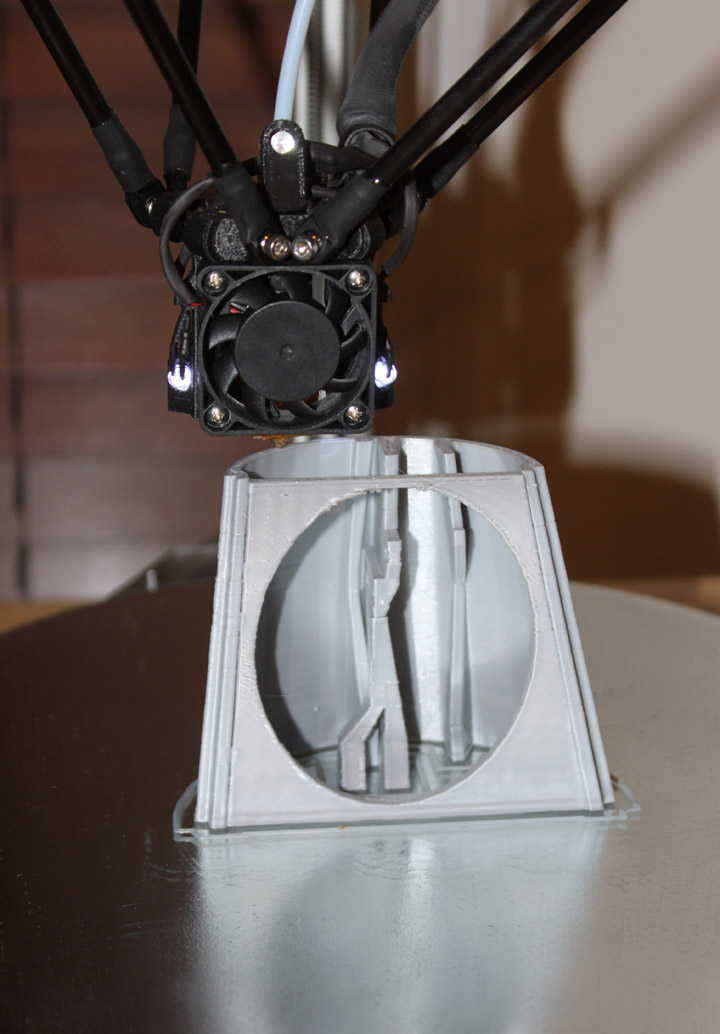
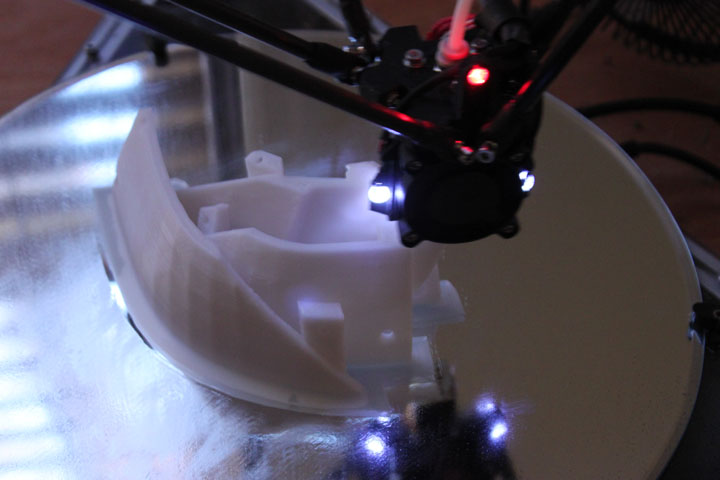
Fig. 1 Here the printer is just about finished with a forearm part. The built in support meant there was no further support needed by the slicer. I think this was about a 4 hour print.
Fig. 2 Above are three pieces of the top skull printed together - this was a 5 hour print when completed, plenty of time for Murphy to raise his head and wreck havoc, but all's well that ends well. The smear type stuff on the print mirror is Suave Max Hold hair spray, which greatly aids the first layer of the part to stick to the mirror. Washes off under tap water.
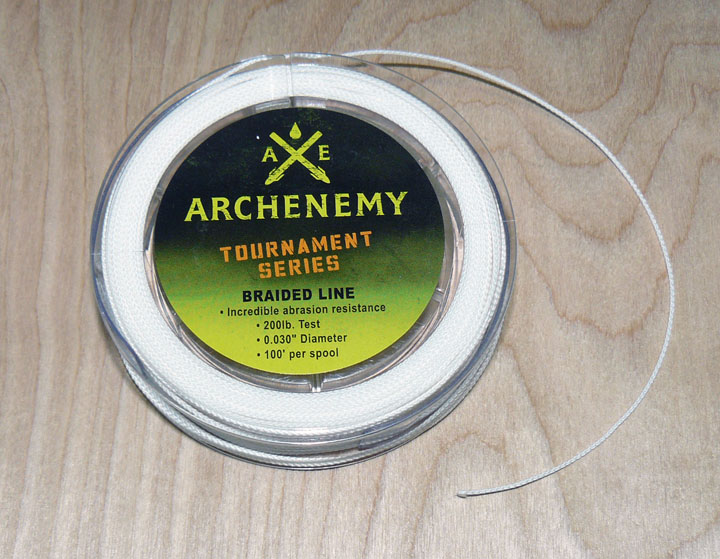
Fig. 4 The sources refer to "rod" and "wire" for the lines, or ligament, to tension the finger movement, but they are actually referring to fishing line. They recommend 200lb test braided fishing line, so I went looking for it. I soon discovered that this kind of line is mostly used in deep sea fishing, and therefore manufacturers are interested in selling 1000 feet of it or more for a whole reel - I saw some that were priced at well over $100.00. I accidentally found that this kind of line is also used in bowfishing applications, where they sell it in smaller quantities. Figure 1 shows the line I am using, which was $10 for 100 feet at a nearby Bass Pro Shop, but is also available from Cabela's, etc. or online by searching for "200 lb bowfishing line." I have since found out that 100 meters of it can be found on Ebay for about $10 as well. If you find this stuff costs a lot, just keep looking.
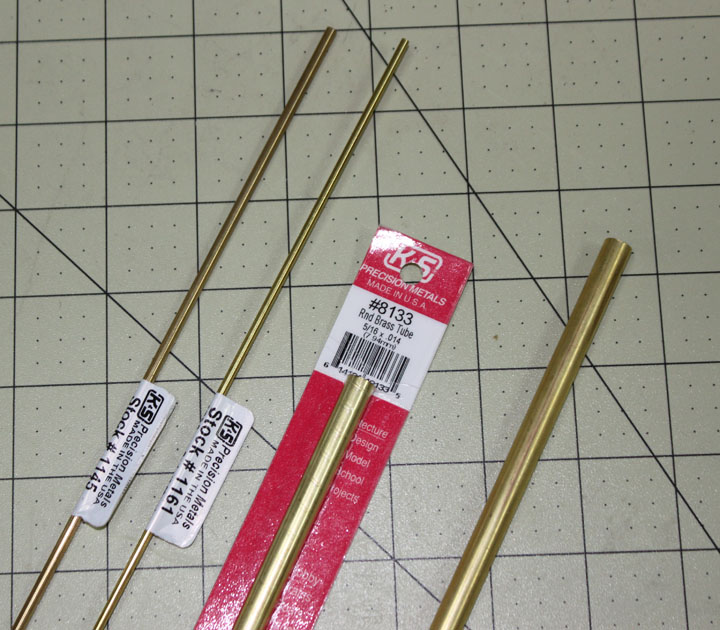
Fig. 5 Above is some of the brass material I used for many joints. It is from the K&S Precision Metals company, and is available on Amazon but I got mine from a local hobby shop. Whenever I used this material in a particular location on the InMoov shown on this website, I called out the part number for that piece. The good news is that it is available in small quantities and is inexpensive. I have also learned there is a British company that is starting to give K&S a run for their money - Albion Alloys now offers not only brass and aluminum, but nickel-silver, copper- nickel, and phosphor-bronze tubing in both round and square profiles. If you are in Europe and can't find K&S, you might try these guys. They are also becoming more present in U.S. hobby stores.
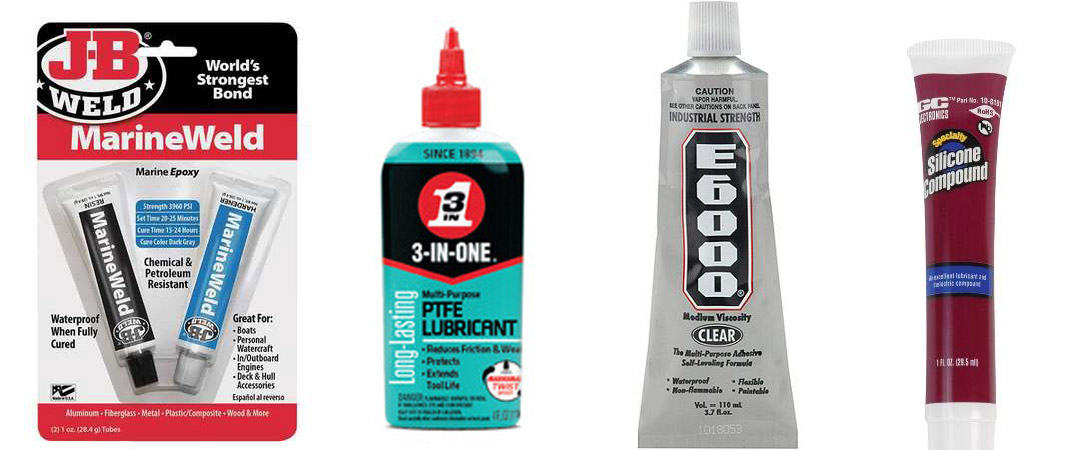
Fig. 6 Above are some products I found that work well to facilitate assembly. On the left is a two-part epoxy that works very well with plastic, including PLA, and is relatively cheap and easily available - I got mine from an auto parts store, O'Reilly's. Note that this is not plain 'ole J-B Weld, as it contains no metal, but MarineWeld and you have to use some patience to let it set up but it is quite strong as long as you mix it well. The rule for epoxy is to mix it until you think it is very well mixed, and then mix it some more. Probably the best epoxy is West Systems epoxy, but that is rather expensive. As for technique, I save blister pack bubbles from the packaging of things I buy and use them as small trays to mix the epoxy. I tend to save up epoxy jobs to do several in one setting to reduce waste, as it is hard to estimate how much you will need ahead of assembly time. Next is a general purpose lube that has PTFE (aka Teflon) as the active lubrication on joints, etc. and a non-petroleum base that works well on plastic, lasts a long time, and doesn't seem to harm anything. I got it locally at Lowe's. Same stuff I use on my printer. Third is E6000 adhesive, also sold under the name "ShoeGoo" because it is used to repair exercise shoes. It forms a rubbery but clear joint that sticks to just about anything. Although it is advertised as "permanent" it can be pealed or scraped off and reapplied. Available at most hobby stores as well as Walmart, Home Depot, etc. On the right is GC Silicone Compound - an inert Vaseline-like (but non-petroleum based) grease that seems to hold up forever and is sold for use on electronic devices - great for lube on the gears, etc without worrying about hurting the PLA or ABS. If you have trouble finding any of these locally, all of the above products are available from Amazon.com.
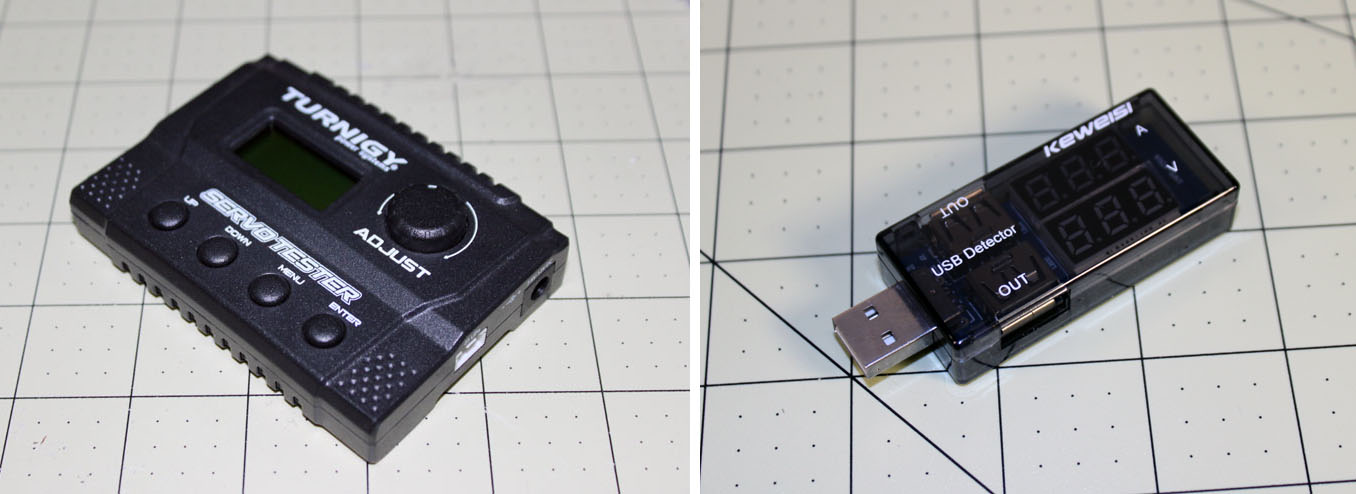
Fig. 7 Although there are several Arduino sketches you can use to set the position of servos, above left is shown a tool to test and set the position of the servos that I had before beginning my InMoov project. In many cases, the servos must be set at center or all the way left or all the way right before installation - this is a simple tool to set them there. The one above is $20 from Hobby King, but there are many others that are even cheaper both there and on ebay - just search for "servo tester." The one above is a bit nicer in that it takes either a 7.5-12 volts or a 2s lipo battery to run (has jacks for both) and you just plug the regular three wire servo plug into the side jack to operate the servo. To center a servo, you select pulse width in the menu and adjust the number in the screen to 1.5 and the servo is now centered. Works with both analog and digital servos and has a wide number of test functions. Nice case for it as well. On the right is a $5.50 USB tester as well. If you have trouble getting USB connections to come up or stay up, a common problem is the USB devices drawing too much power. This little device plugs into the host provider and allows you to plug USB devices into it, and it displays the voltage and current consumption drawn by the device. For instance, this device told me the Kinect 360 draws about 2.2 amps, over twice as much as a normal USB port is made to provide.
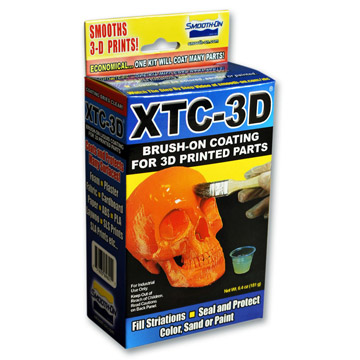
Fig. 8 One of the ways to get a "finish" coat or a smooth surface on an otherwise corduroy-like surface of a 3D printed object, is to apply an epoxy coating. One of the prooducts sold to do this is the XTC-3D coating, and it works well, but from what I can tell, its just another resin epoxy with instructions to mix an apply it with a 10 minute working time. It is $25 for 24 oz. (Another product that seems to work well is Z-Poxy PT-40, and it appears to be a little more at $16 for 12 oz.) The XTC-3D is to be well mixed 1 part hardener to 2 part resin, and then spread thin onto a disposable palette (I use a sheet of aluminum foil) to increase the working time. Most epoxies are thermosetting, meaning if once mixed you keep it in a container, the heat will immediately build up and the whole thing will set in just a few minutes. If you spread it out as a thin layer, it takes much longer to set up like 15 or so, depending on ambient temperature. Also, it is critical to get the ratio amounts accurate, especially when mixing up small batches. Popsicle sticks, nitrile gloves, mixing cups, and paper towels are more than just a good idea with this stuff. Comments may be directed to gary at liming daught org. Thanks for viewing this build log! |