|
|
|
|
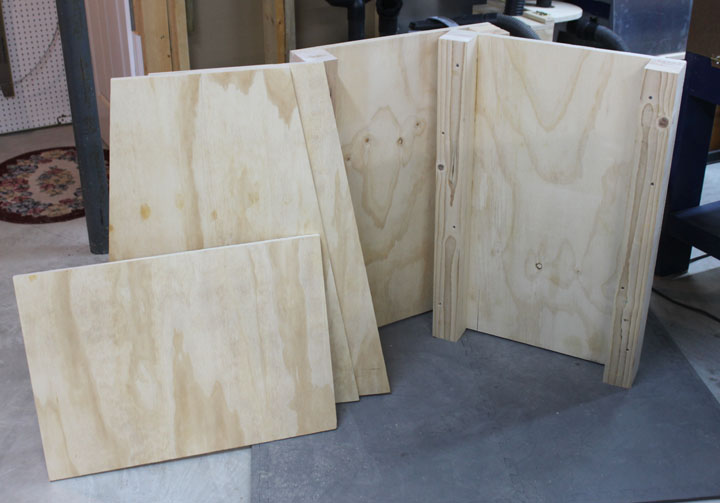
Fig. 1 November, 2011. Above shows the basic parts of the stand - on the left is the top, which I made to provide a four inch apron around the mill base. The two upright pieces on the right are the sides, made by glueing and screwing two 2x4s 36 inches long together, and then gluing and screwing 4 sets of those to some 3/4 inch plywood. I think 36 inches for the height should be about right. Then, the front and back are the two trapeziodal shaped pieces, cut that way to make the base a little wider (26 inches wide) in case the head needs to swing back and forth. Cost was one sheet of plywood and 3 10 ft 2x4s.
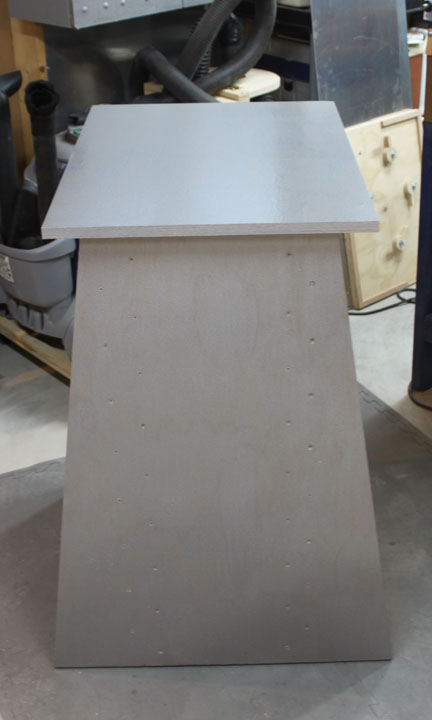
Fig. 2 Above is the assembled stand. It received a coat of shellac sealer and then a coat of hammered silver. I may also put some pegboard or hardboard covers on the sides so I can attach some things to it. I'm also thinking about providing a chip tray to go on top before the mill is placed.
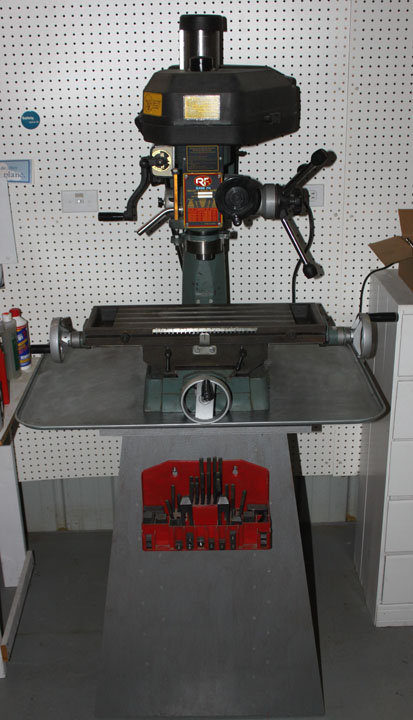
Fig. 3 With the help of the engine hoist and my friend Frank Kerner, we got the mill lifted above the table onto the stand. To provide for a chip tray, I placed a $10 Walmart automobile drip pan on top of the stand before attaching the mill, and screwed the clamp assortment to the front of the stand.
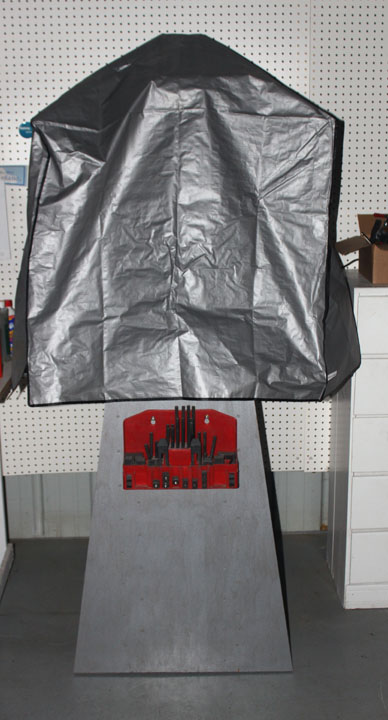
Fig. 4 Above shows a dust cover I bought for it that seems to fit pretty well.. Its just an $11 outdoor airconditioner unit cover (34x34x30 inches) I got from Home Depot. This should not only save cleaning workshop dust off of it, but I am hoping it will help with some rust prevention. If that starts to be a problem, I'll put a low watt light bulb in there to keep it warmer than its surroundings. |